How to use Gutenberg HTML editor?
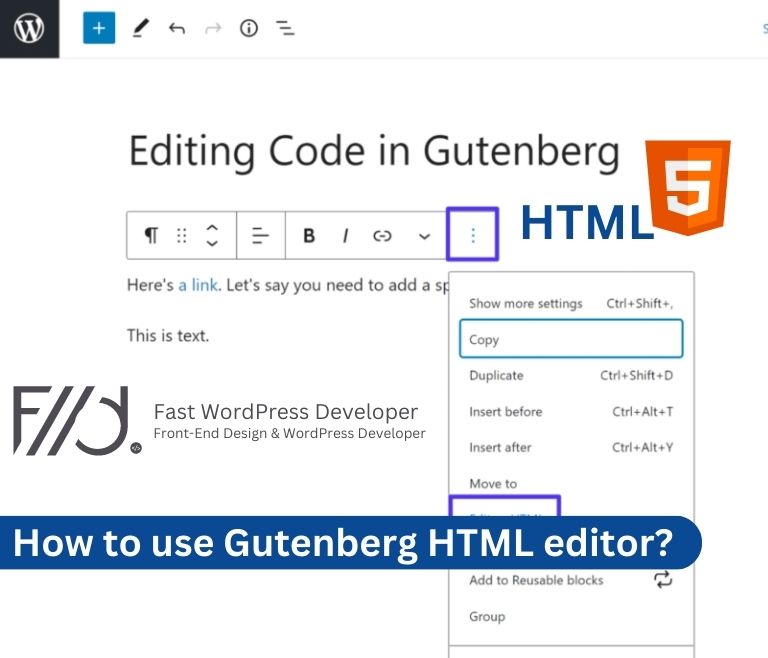
The conventional content editor was replaced in WordPress 5.0 by Gutenberg, a completely new block editor. Since then, a number of our users have requested that we develop a detailed lesson on how to use WordPress’s Gutenberg block editor.
What makes the new WordPress block editor superior to the old one?
The new WordPress block editor makes adding various types of content to your posts and pages a breeze.
For example, if you wanted to include a table in your content before, you had to use a separate table plugin.
You can easily build a table block, select your columns and rows, and begin adding content with the new editor.
You may quickly create media-rich content by moving content items up and down and editing them as individual blocks.
Above all, the new WordPress block editor is simple to use and understand.
This gives all WordPress beginners who are just starting their first blog or creating a DIY business website a huge advantage.
That being said, let’s take a look at how to use the new WordPress block editor like a pro to create great content.
Here is what we will cover in this Gutenberg tutorial:
- Using Gutenberg, WordPress’s new block editor
- Making a new post or page on your blog
- In Gutenberg, how can I add a block?
- In the new editor, working with blocks
- Gutenberg allows you to save and reuse blocks.
- Gutenberg settings for publishing posts
- Plugin settings in a new editor
- In Gutenberg, certain common blocks are being added.
- In Gutenberg, we’re looking at several new content blocks.
- Extra advice on how to use Gutenberg like a pro
- Adding More Blocks to the Gutenberg Block Editor
- FAQs about Gutenberg
Using Gutenberg – The New WordPress Block Editor
The block editor is intended to be simple to use and adaptable. While it differs from the original WordPress editor in appearance, it retains all of the functionality of the old editor.
Let’s start with the basics, which you learned in the old editor, and how to accomplish in the block editor.
How to Add a Block in Gutenberg
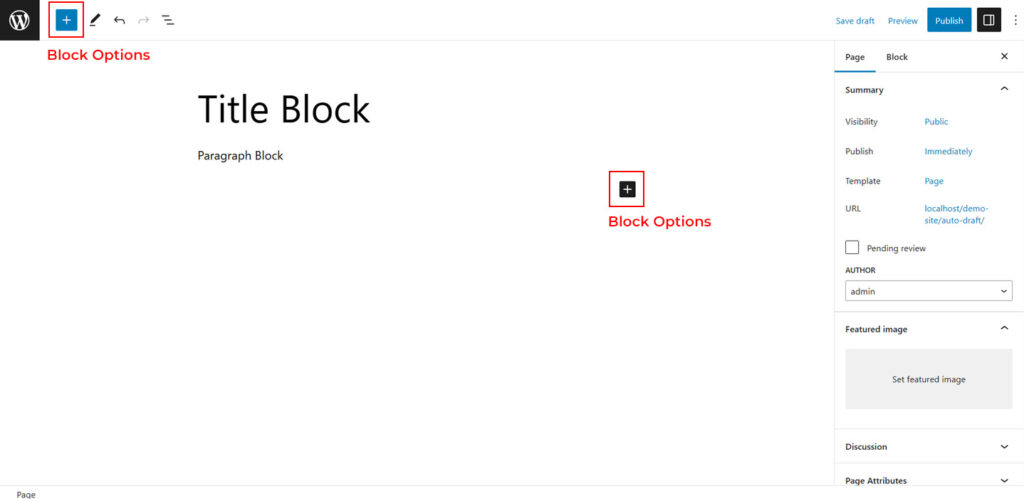
The title is the first block of every post or page.
After that, you can move below the title with your mouse or by pressing the tab key on your keyboard to move down and begin writing.
The following block is a paragraph block by default. Users can immediately begin writing as a result of this.
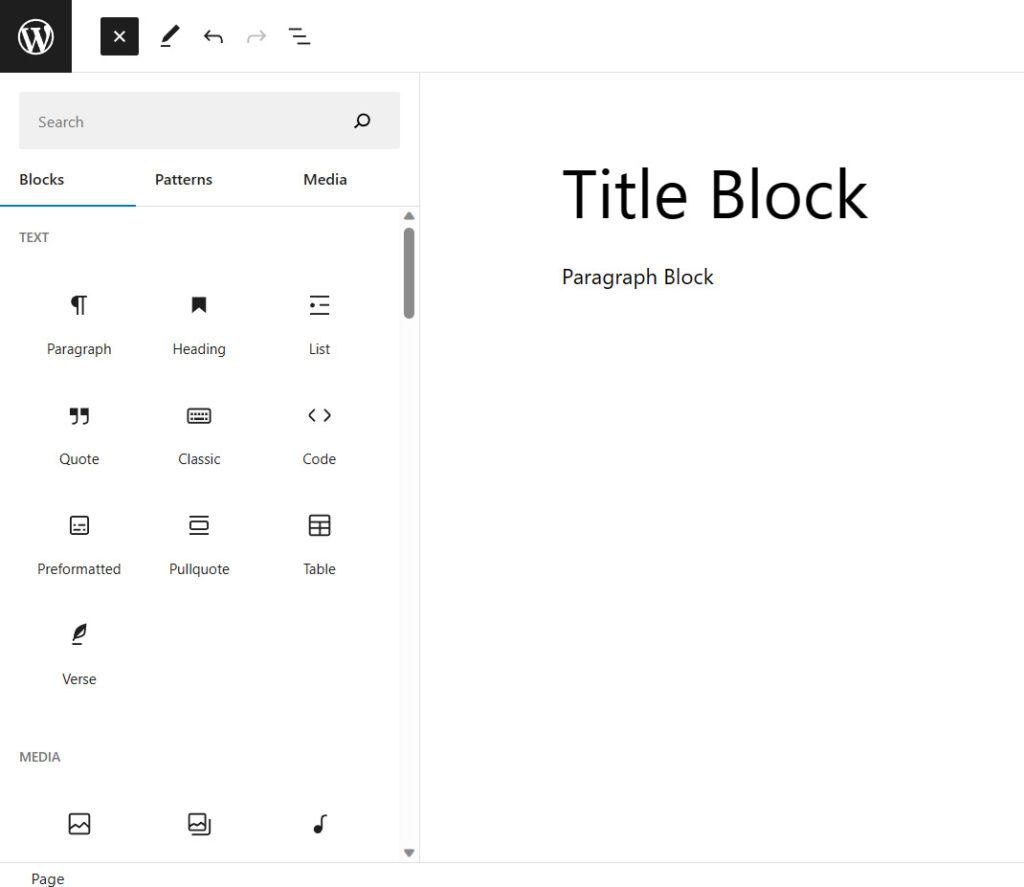
If you wish to add something new, you can do so by clicking the add new block button in the editor’s top left corner, below an existing block, or on the left side of a block.
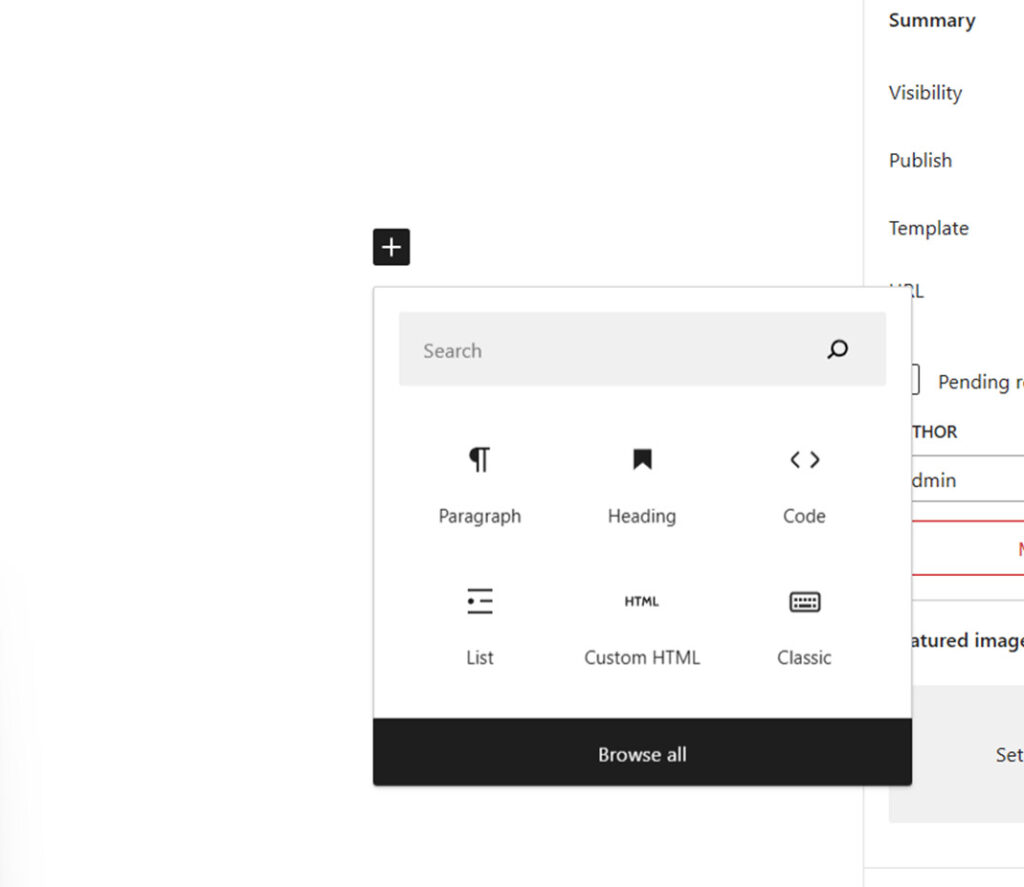
When you click the button, the add block menu appears, with a search bar at the top and commonly used blocks below.
You can browse block categories by clicking on tabs or search for a block by typing in a keyword. If you don’t want to use your mouse to click on the button, you can use a keyboard shortcut to search for and add a block by typing /.
Working with Blocks in The New Editor
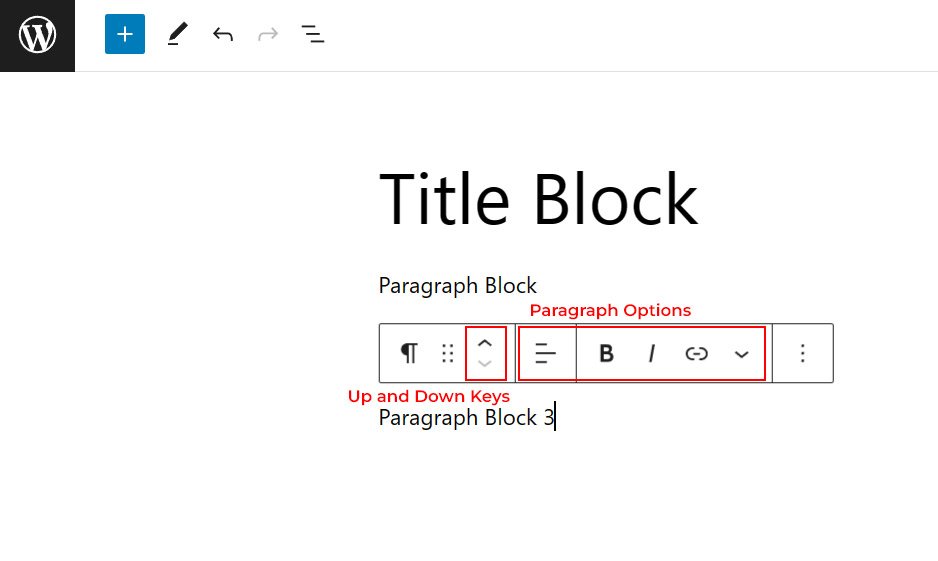
Each block has a toolbar that shows at the top of the block. Depending on the block you’re editing, the toolbar’s buttons will vary.
In this screenshot, we’re working on a paragraph block with basic formatting features such as text alignment, bold, italic, insert-link, and strikethrough.
Aside from the toolbar, each block can have its own set of block settings, which display in the right column of the edit screen.
You can drag and drop blocks or use the up and down keys next to each block to move them up and down.
Saving and Reusing Blocks in Gutenberg
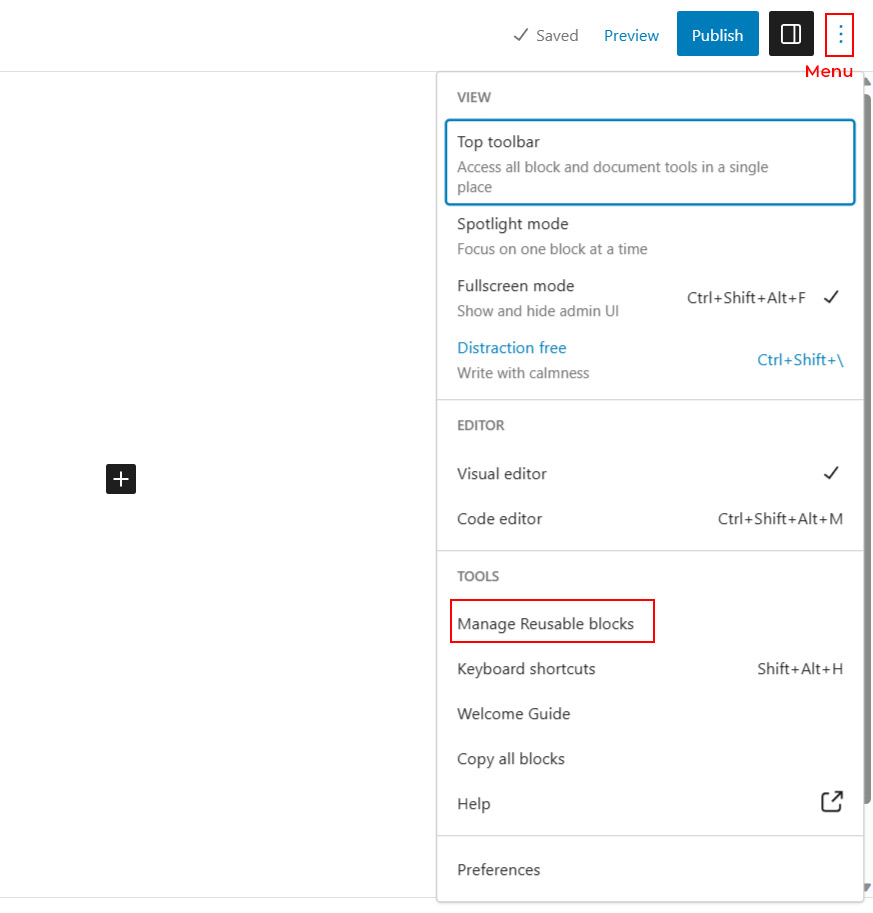
One of the most appealing features of blocks is that they can be saved and reused separately. This is especially useful for bloggers who need to add certain content snippets to their articles on a regular basis.
Simply click the menu button in the right corner of the toolbar for each block. Select the ‘Add to reusable blocks’ option from the menu.
You will be asked to give this reusable block a name. After giving your block a name, click the Save button.
The block will now be saved as a reusable block in the block editor.
Now that you’ve created a reusable block, let’s look at how to use it in other WordPress posts and pages.
Simply make a change to the post or page where you want the reusable block to appear. Click the add block button from the post edit screen.
Under the ‘Reusable’ tab, you’ll locate your stored block. You can also use the search bar to look for it by typing its name.
If you hover your mouse over it, a short preview of the block will appear. To add the block to your post or page, simply click on it.
You can manage all reusable blocks by clicking the manage all reusable blocks’ link in your WordPress database.
This will take you to the page where you may manage your blocks. You can change or delete any of your reusable blocks from here. You can also export reusable blocks and use them on any other WordPress website.
Publishing and Managing Options in Gutenberg Block Editor
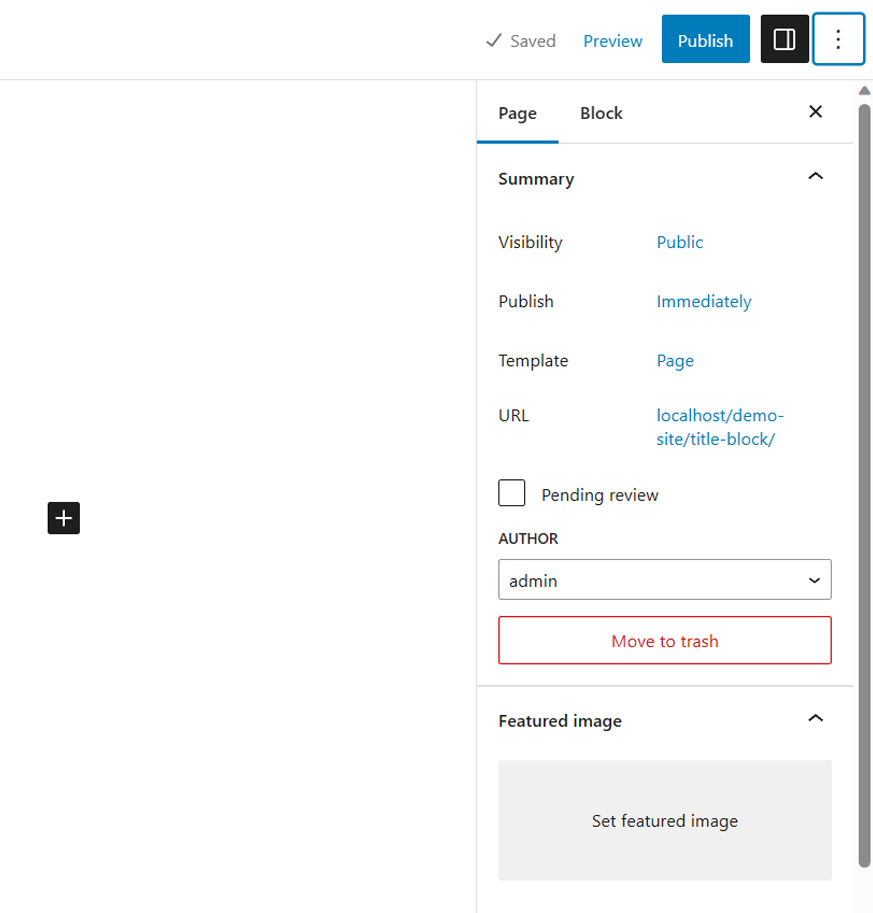
There is a lot of metadata in each WordPress post. This includes details such as the date of publication, categories and tags, highlighted photos, and so on.
On the editor screen, all of these options are neatly organized in the right column.
Plugin Options in Gutenberg
The API of the block editor may be used by WordPress plugins to integrate their settings into the edit screen.
Some well-known plugins have already been made available as blocks. For example, WPForms, the greatest WordPress form builder plugin, lets you use a widget block to insert forms into your content.
Adding Some Common Blocks in New Editor
The new editor can do all of the functions of the old one. However, you will be able to complete tasks much more quickly and beautifully than previously.
1. Adding an image in the new WordPress editor
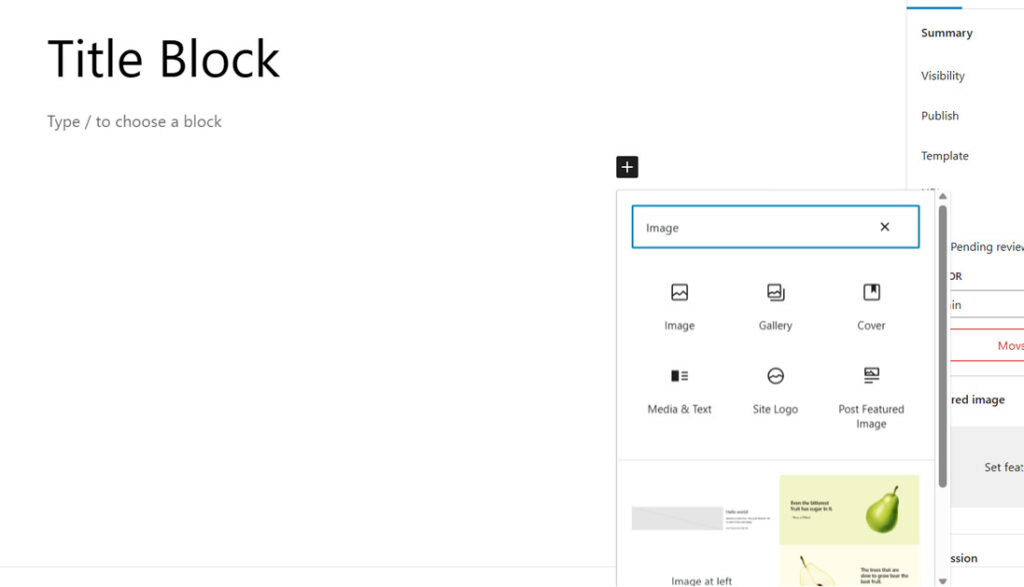
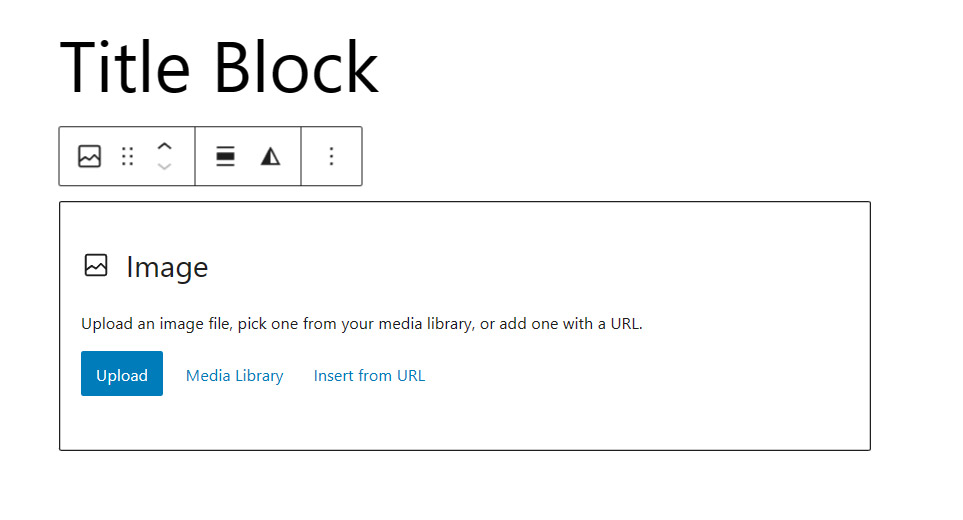
In the new WordPress editor, there is a ready-to-use picture block. Simply add the block and then upload or choose from the media library an image file.
You may also drag and drop images from your computer into the editor, which will create an image block for you instantly.
After you’ve uploaded an image, you’ll be able to access the block settings, where you may add image metadata such as alt text, size, and a link.
2. Adding a link in the new block Editor
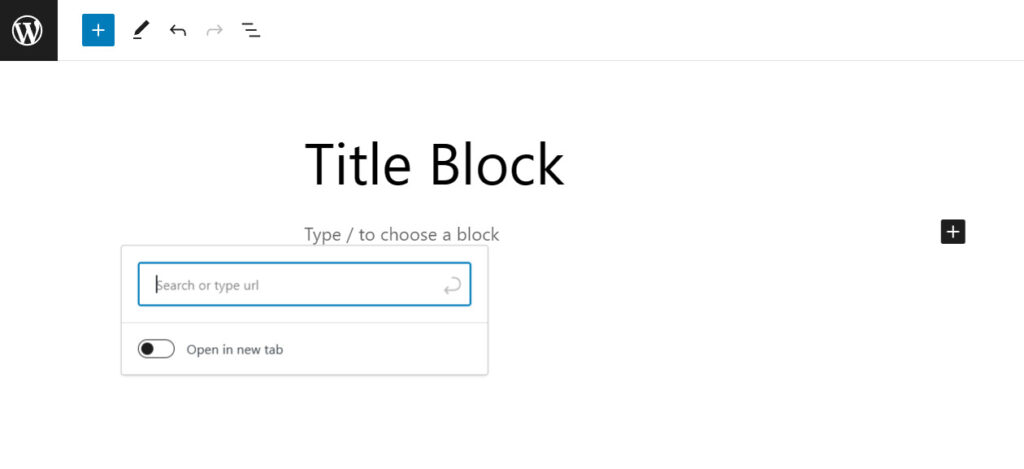
There are various blocks in the block editor where you can add text. The paragraph block, which has an insert link button in the toolbar, is the most widely used.
The toolbar also has a link button for all other regularly used text blocks.
You may also use the keyboard shortcut Command + K on a Mac or CTRL + K on a Windows computer to insert a link.
3. Adding an image gallery in Gutenberg
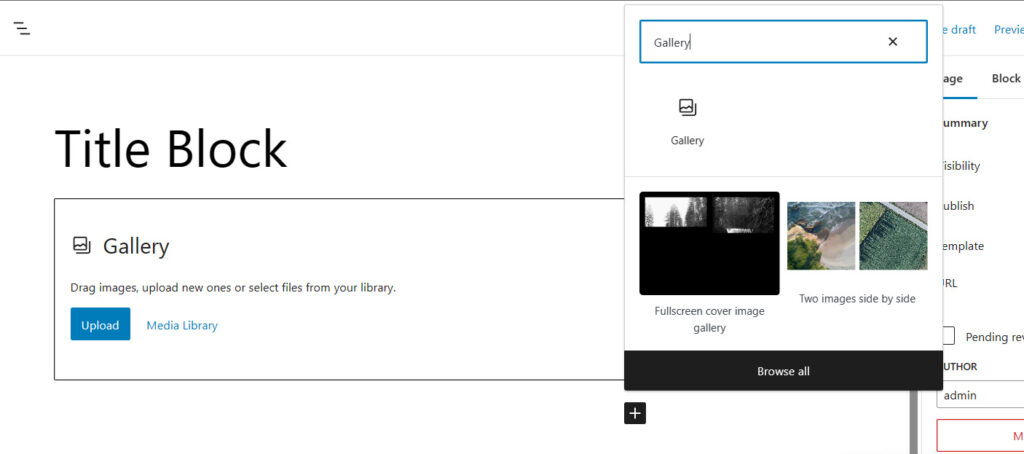
The gallery block functions similarly to the image block. After that, you upload or select image files.
4. Adding short codes in WordPress posts using Gutenberg
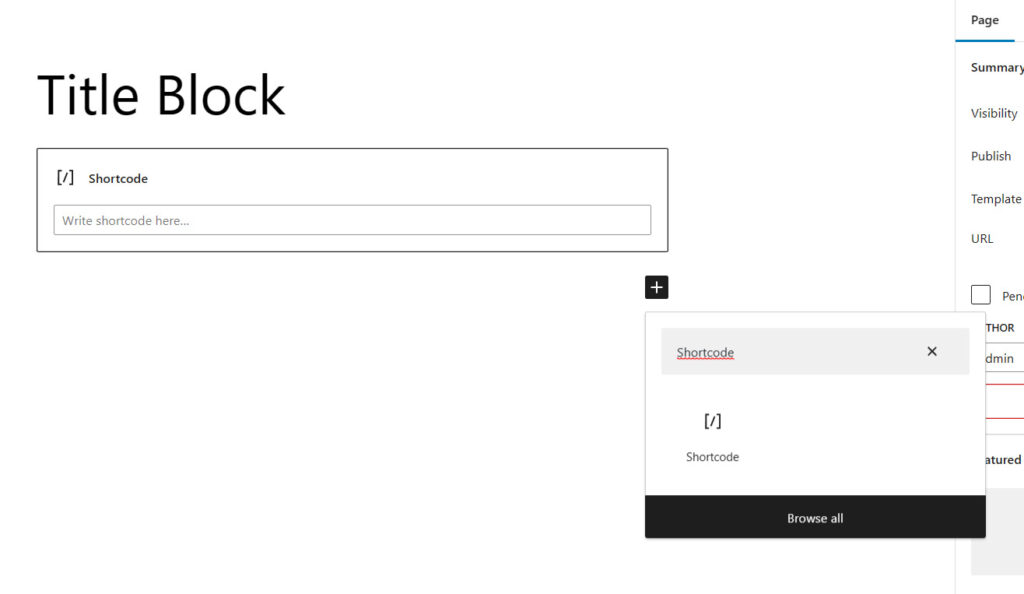
All of your short codes will function the same way they did in the old editor. You can utilize the short code block or simply add them to a paragraph block.
Exploring Some New Content Blocks in Gutenberg
By introducing new blocks, the Gutenberg editor aims to address some long-standing usability concerns in WordPress.
Here are a few of our favorites that we think users will find quite useful.
1. Adding an image next to some text in WordPress
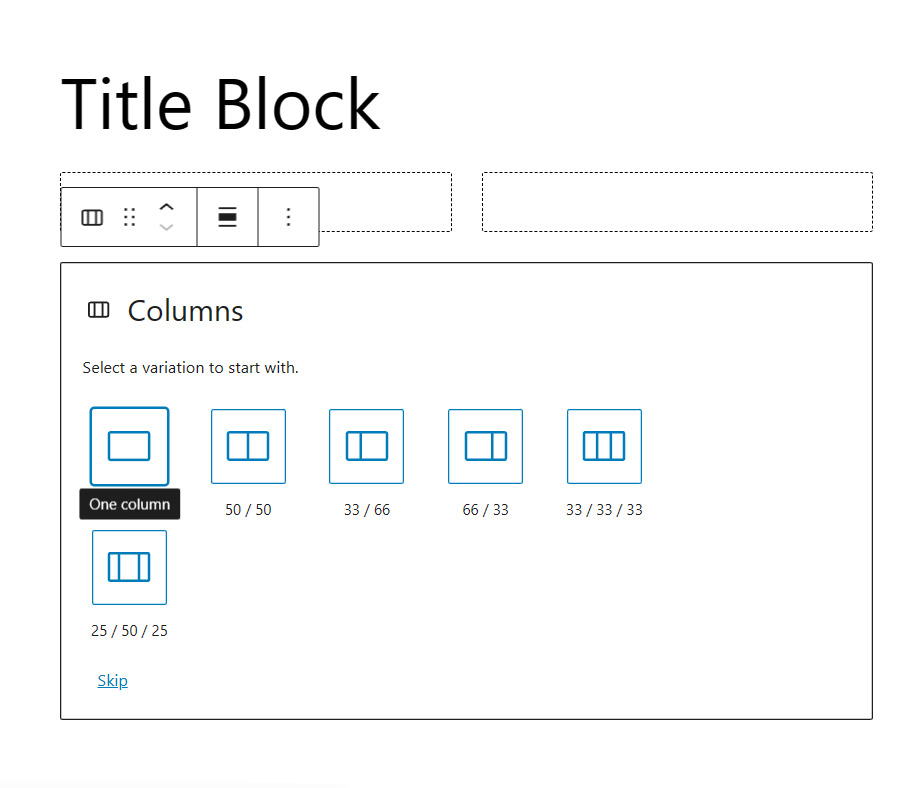
Many of our readers were unable to add a picture next to text when using the old editor. With the Media & Text block, you can accomplish this right now.
This simple block is made up of two blocks that are positioned side by side, allowing you to quickly add an image and text next to it.
2. Adding a button in WordPress posts and pages
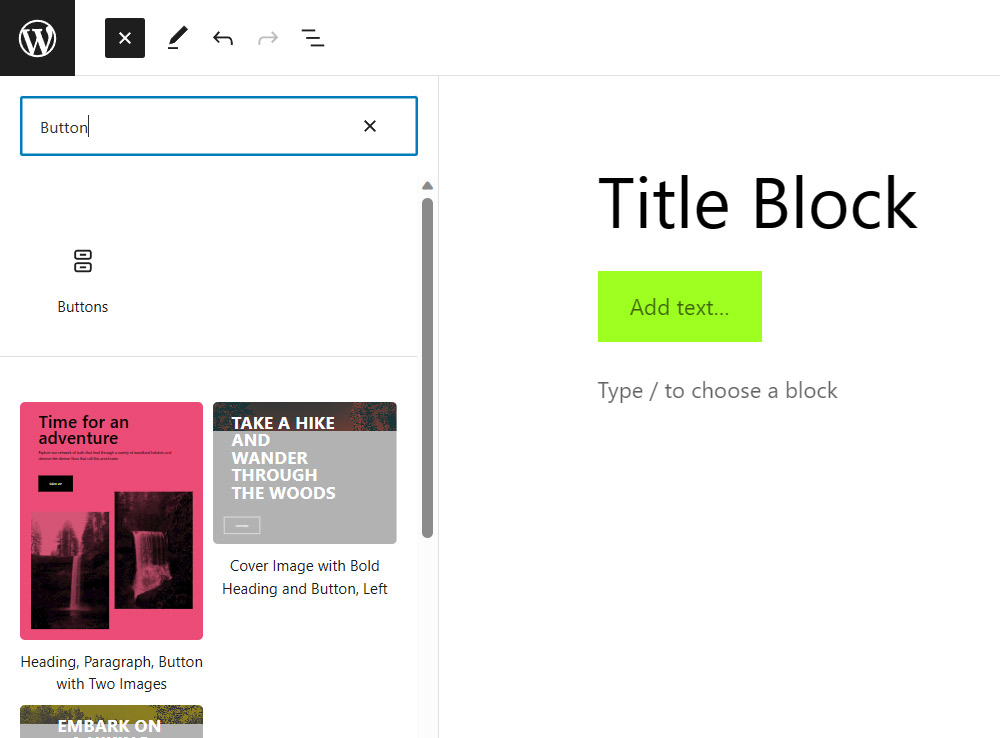
In the traditional editor, adding a button to your blog articles or pages was an additional hassle. You could either use a plugin to create a shortcode for the button or go to HTML mode and type code manually.
The button block in Gutenberg allows you to rapidly add a button to any post or page.
You can customize your button by adding a link, changing the colors, and selecting one of three button designs.
3. Adding beautiful cover images in blog posts and landing pages
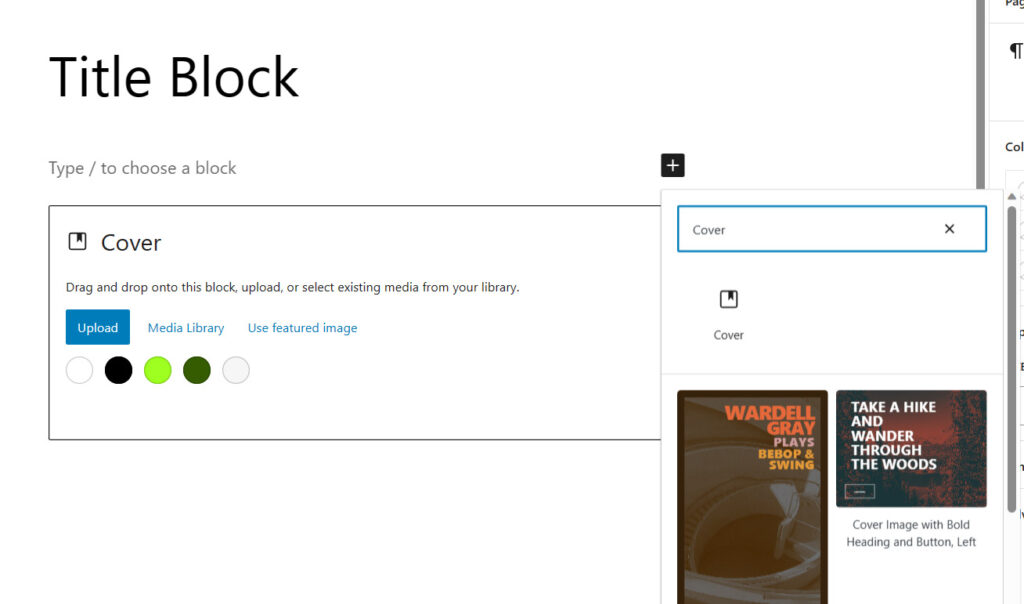
The ‘Cover’ block, which allows you to add cover photos to your articles and pages, is another fascinating feature you should check out.
A cover image is a larger image that is frequently used as the cover for a new section of a page or the start of an article. They have a lovely appearance and allow you to design interesting content arrangements.
Simply create a cover block and then upload your own image. To generate a parallax effect when viewers scroll down the page, you can choose an overlay colour for the cover or make it a fixed background picture.
4. Creating tables inside articles
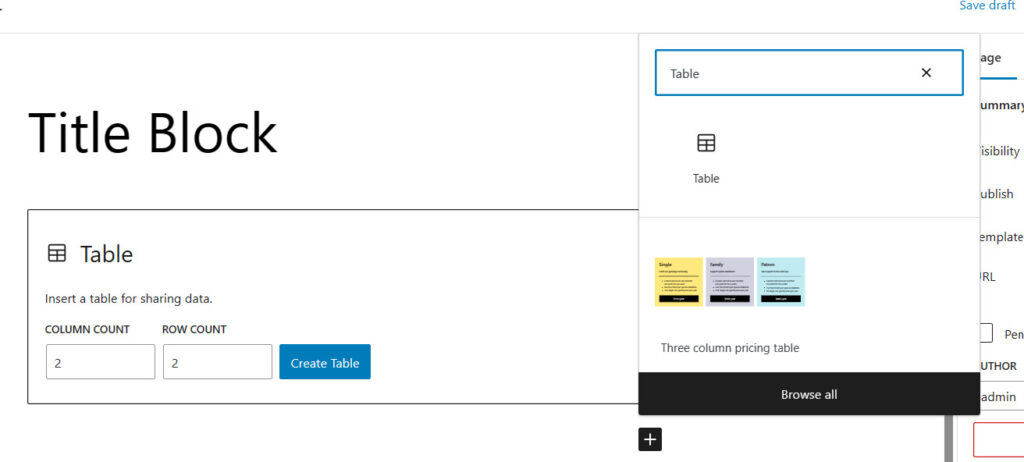
There was no button to add tables to your WordPress posts in the traditional editor. You had to utilise a plugin or write custom CSS and HTML to make a table.
The default Table block in the New Gutenberg editor makes inserting tables into your posts and pages a breeze. Simply specify the amount of columns and rows you want to insert after adding the block.
You may now begin filling in the table rows with data. If necessary, you can always add more rows and columns. In addition, there are two basic style possibilities.
5. Creating multi-column content

Another issue that the classic editor couldn’t solve was creating multi-column content. Columns is a block that adds two columns of paragraph blocks to the block editor.
This column block is quite adaptable. You can create up to 6 columns in a row, and each column can include other blocks.
Are you ready to publish your WordPress website today?
Let's Discuss Your Needs!
